Back to Part3
Install ISPConfig
We are finally ready to install the actual ISPConfig software.
We can do that by downloading the latest stable version onto our server. As of this writing, the latest stable version that has a direct link available is version 3. We will update the installation once we get everything installed.
Now, you should change to your home directory and download the project using wget:
cd ~
wget http://prdownloads.sourceforge.net/ispconfig/ISPConfig-3.0.5.4p5.tar.gz
After the download is complete, extract the directory structure and move into the install subdirectory of the extracted folder structure:
tar xzvf ISPConfig-3.0.5.4p5.tar.gz
cd ispconfig3_install/install/
Now, we are ready to install the software. Do so by typing:
sudo php -q install.php
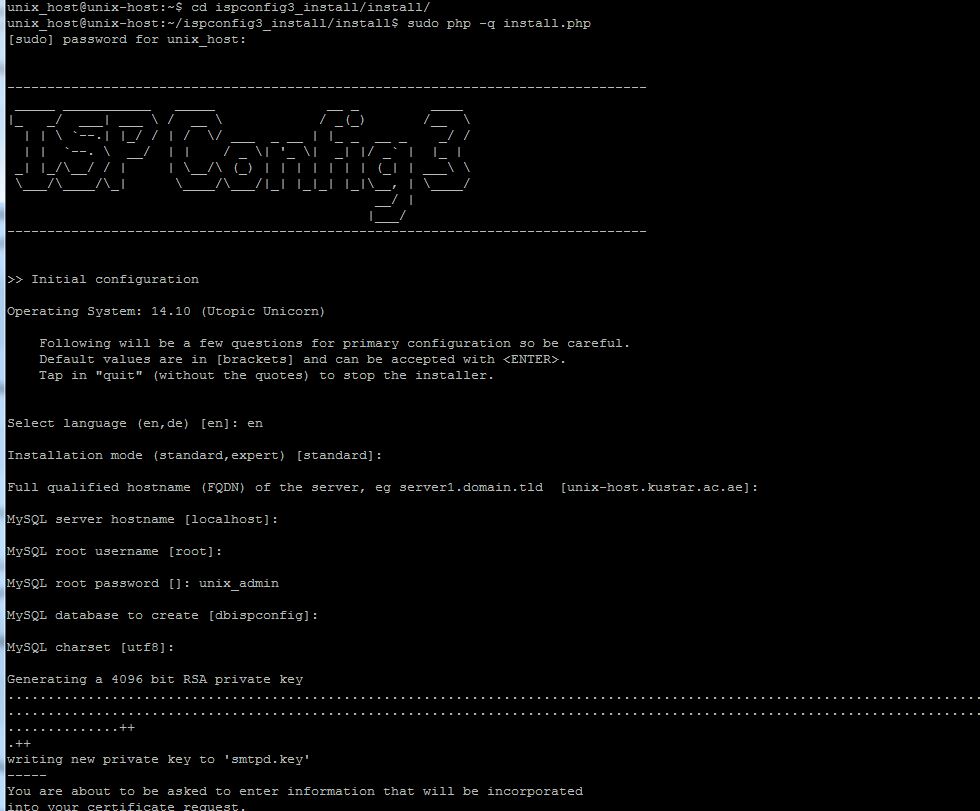
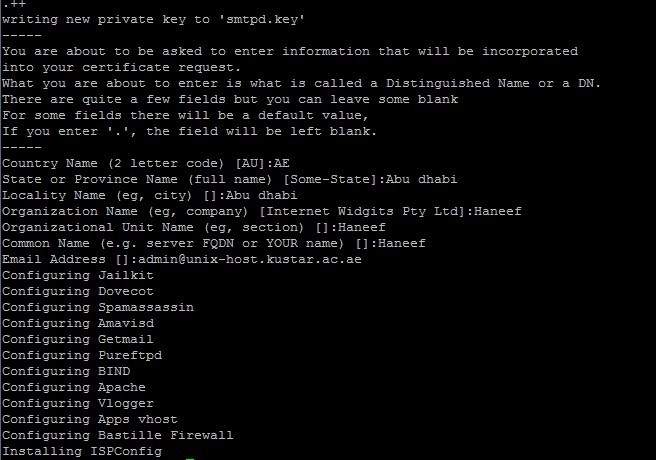
You will be taken through a very lengthy installation processes.
Luckily, the only detail you actually need to enter is your MySQL root password! For every other entry, just press “ENTER” to use the default value and skip ahead.
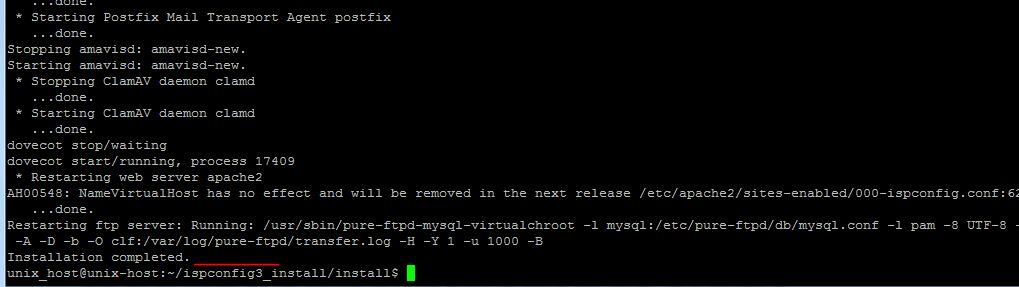
When you are finished with the installation, go ahead and update to the latest version by typing:
sudo php -q update.php
Again, just press “ENTER” to use the defaults for each command.
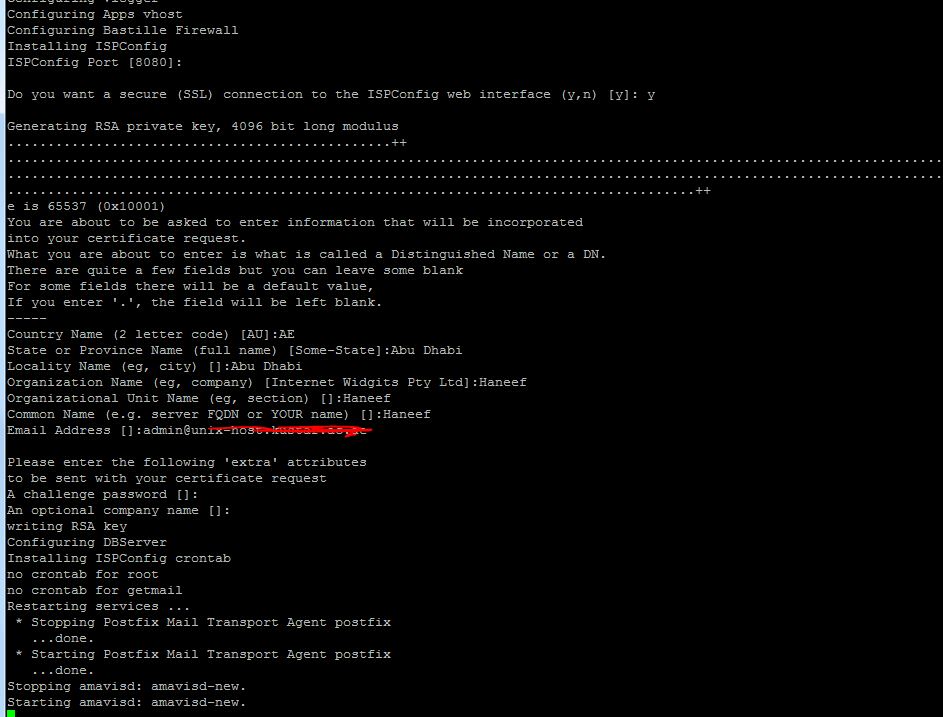
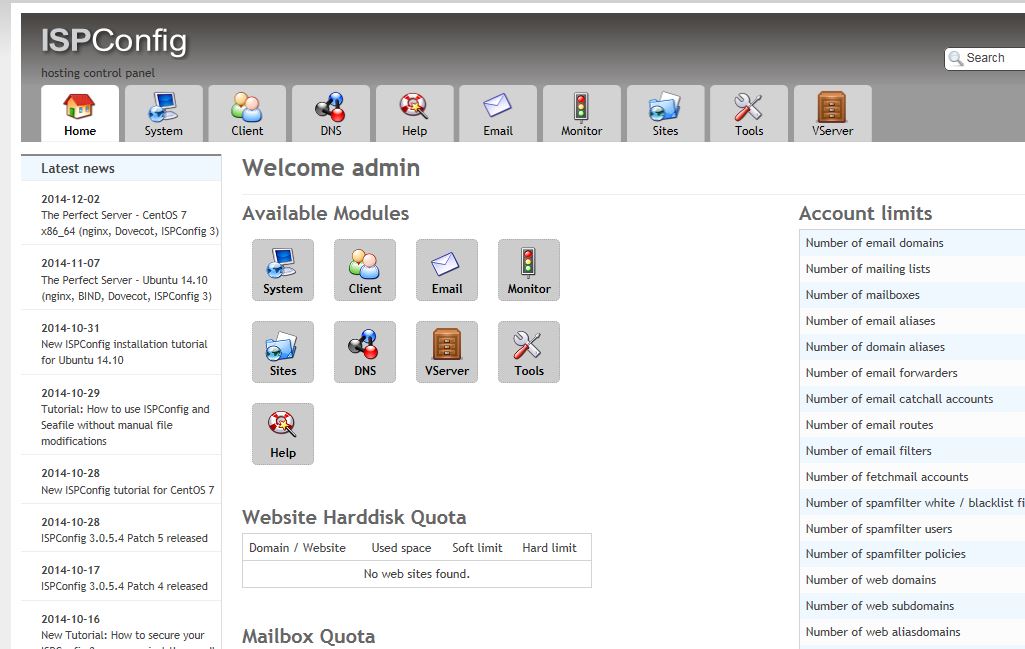
When you are finished, you can visit your ISPConfig service by visiting your domain name followed by:8080 in your web browser:
https://xxxxxxx:8080/index.php
Username : admin
Password : admin
Continue Part 5