|
1.Go to your OWA (Outlook Web Access) page
Log in with your user name and password.
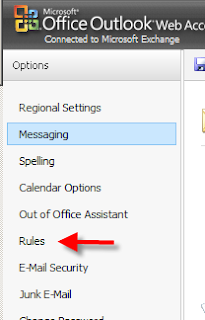
2.Click “Options” top right of the page.

3. Click “Rules” in the left column.
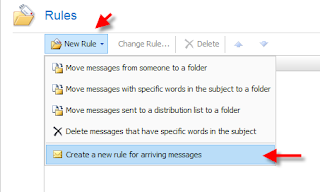
4. Choose “New Rule” in the middle column, and in the drop-down menu choose “Create a new rule for arriving messages”.
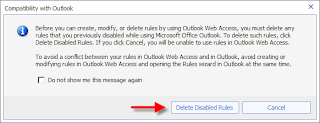
5. If you use this procedure for the first time, you will get a frame “Compatibility with Outlook”, select “Delete Disabled Rules”.
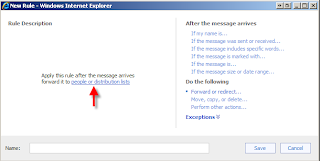
6. Now you will get a pop-up window where you can select “Forward or redirect”, and in the drop-down menu you select “Forward the message to people or distribution lists”.

7. Now click “people or distribution lists” to select the person to whom the e-mails will be sent.
You can select an address from the list or add one in the address bar below. Click “OK”.

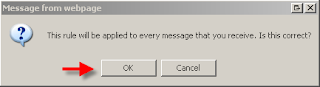
8. You get the message that all your e-mails will be forwarded to your new address, click “OK” to create the rule.
9. Congratulations! Your e-mail forwarding has been configured via OWA.
|


