Scenario : You want to create an web application which supports multi language. Your site may contain models , form labels, hyper links which needs to be in the required language. We can also have a language switcher.
Solution : Use Resource .resx xml file.
Tools Required : Visual Studio 2013
Features:
- Extend as many number of Languages you want
- Form can be created with different language labels
- Link labels can be changed
- language switch option
- Easily editable Resource Files
Create New Project
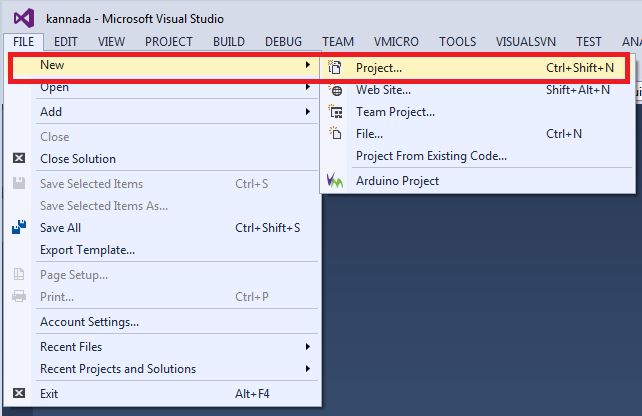
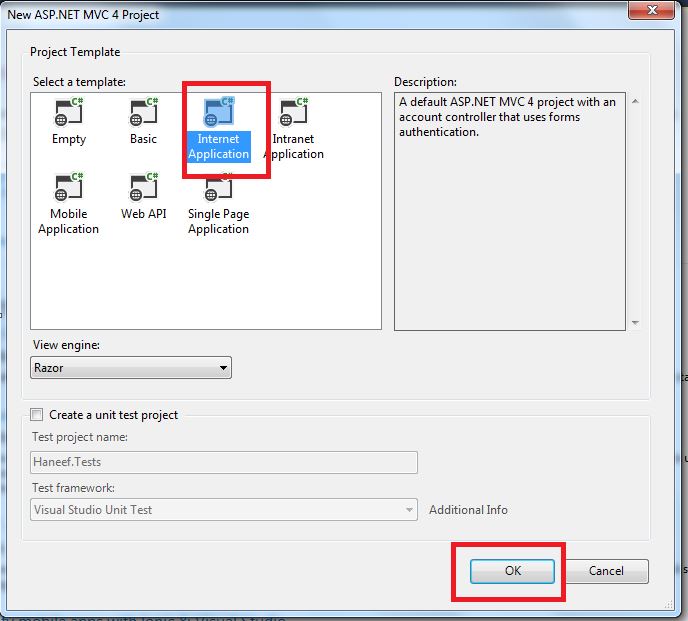
Select Web ==> Asp.net MVC4 Web Application ==> Project Name :: Haneef

Select Internet Application
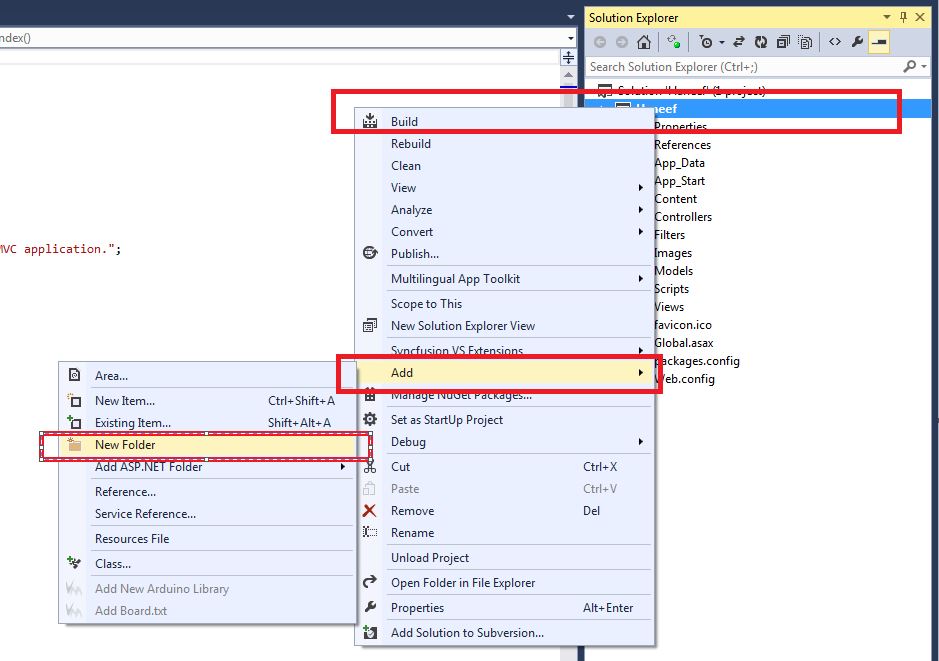
Right Click Project Name ==> Add New Folder ==> Name it as Resources
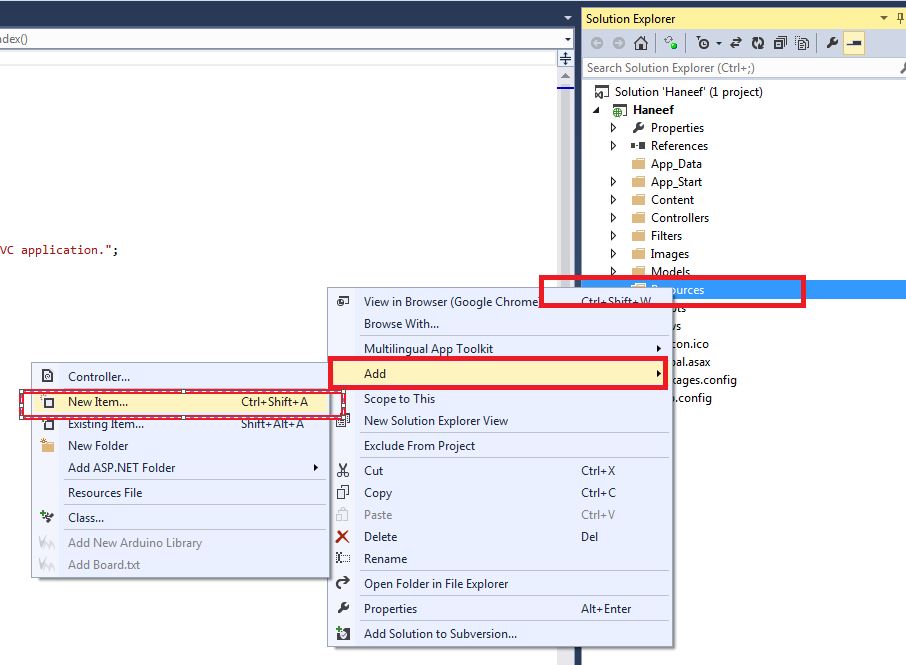
Right Click Resources Folder which we created ==> Add New Item
Select General Tab from left Hand Side and Select Resources File from Right Side
Name the new file as LangText.Resx
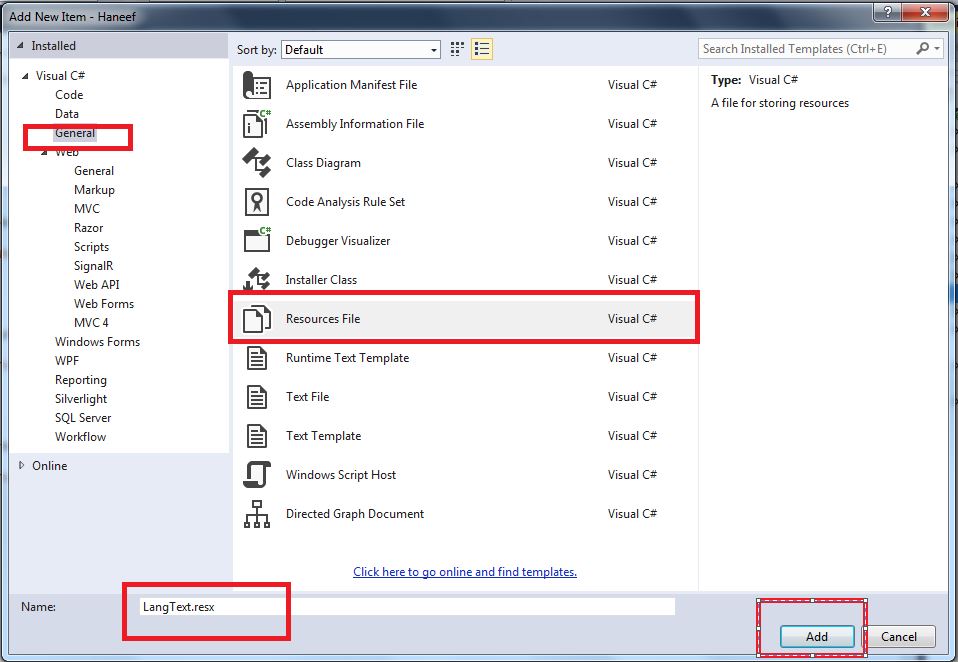
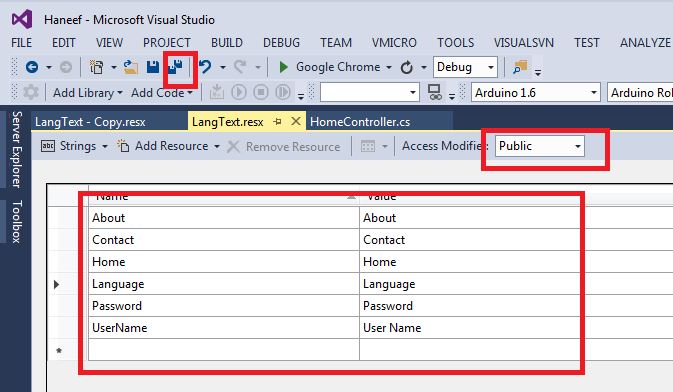
Now Enter the string Name and Value as shown below, Click Access Modifier as Public, Then Click Save All as shown
Now Right Click LangText.Resx ==> Copy
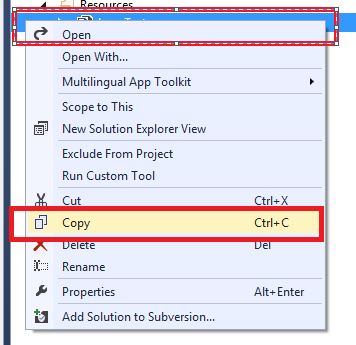
Paste to Same Folder

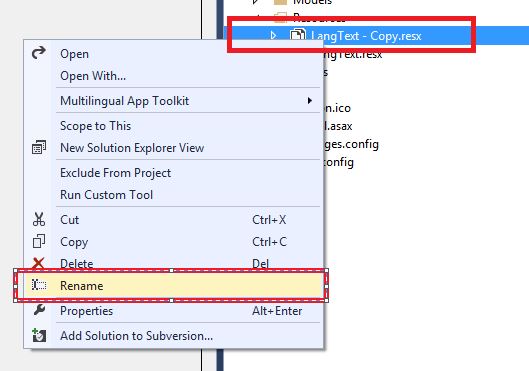
Now Rename the Pasted File as LangText.Ar.Resx
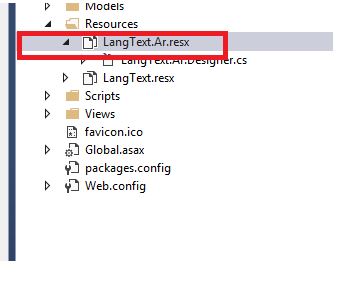
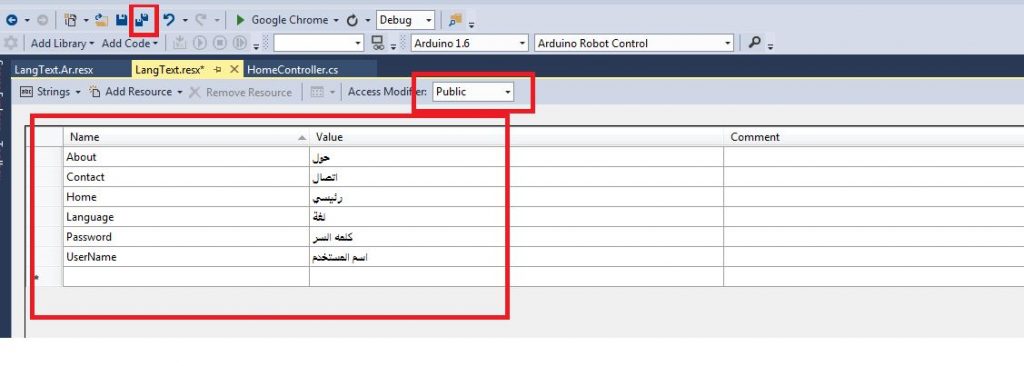
Now Edit the Content of Resx file to include Arabic Translations and Save.
Now Again make a copy for Kannada Language file and LangText.Kn.Resx
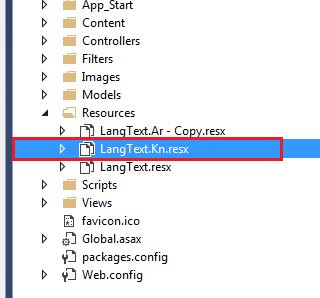
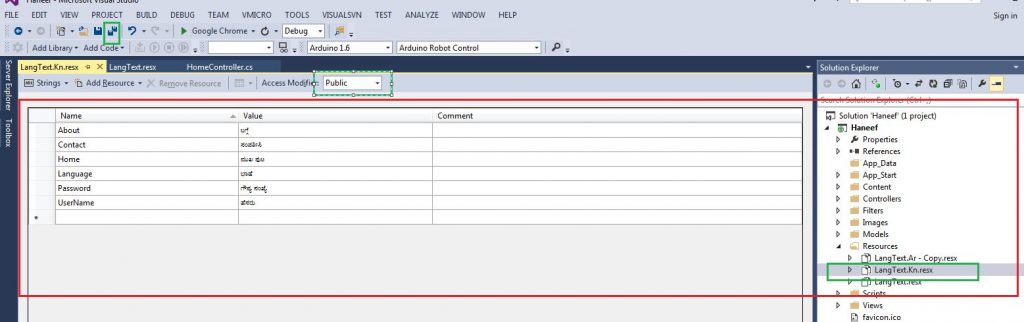
Now Double Click LangText.Kn.Resx and include the Kannada Translations.
Now Add a new Controller
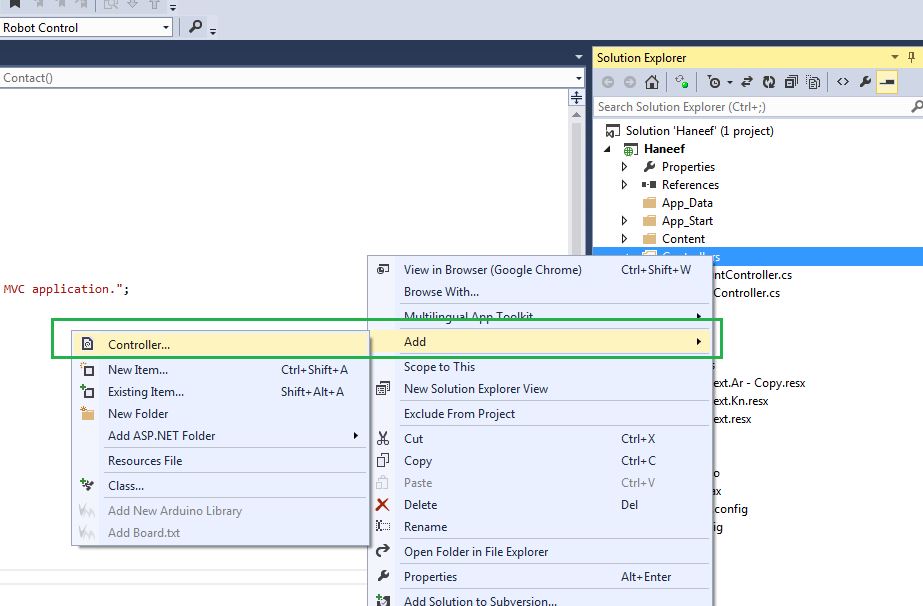
Name it as LangController
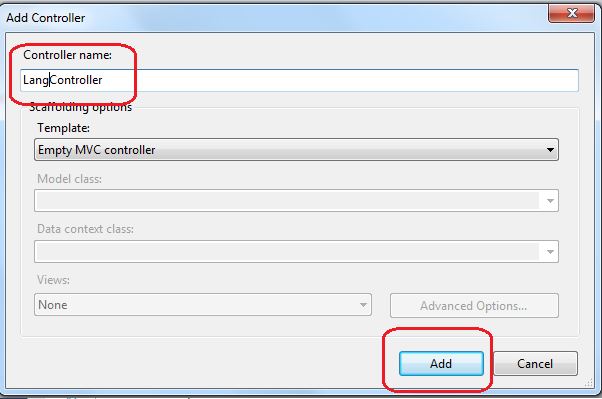
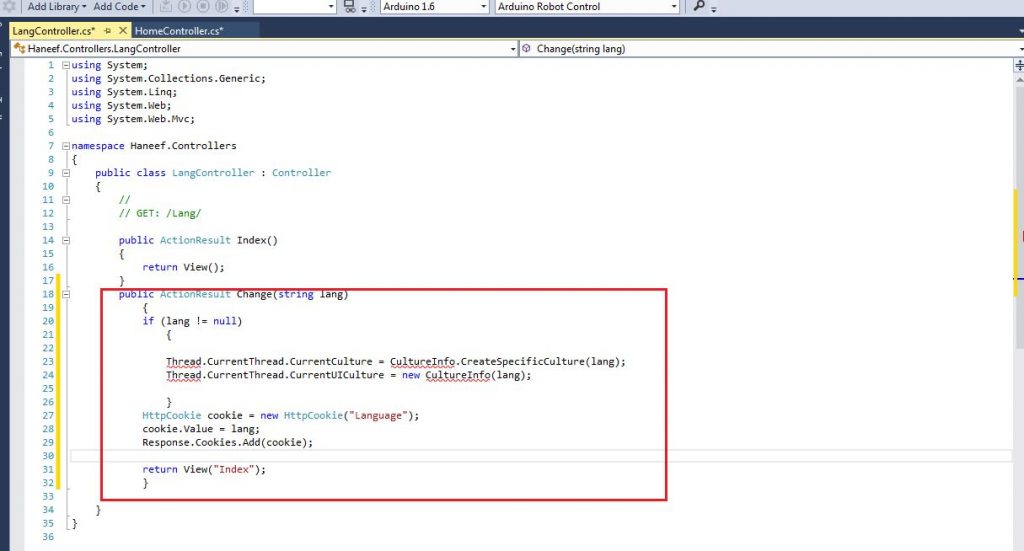
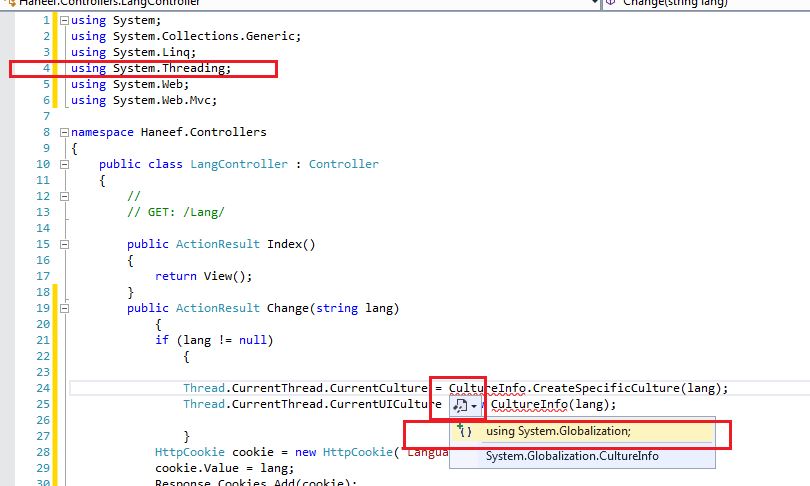
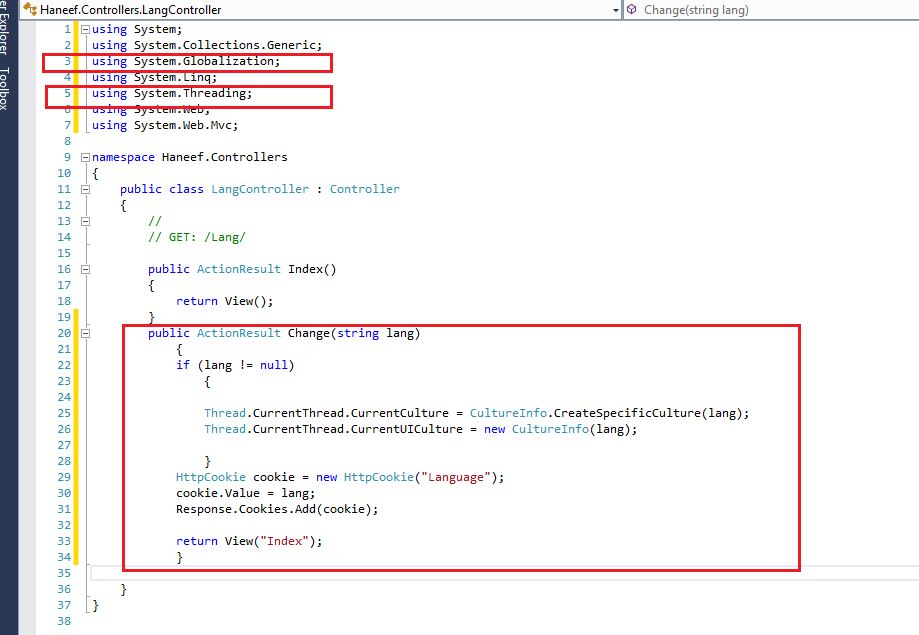
Now add following Code to the controller
// Add this using statements
using System.Globalization;
using System.Threading;
// Add a method
 public ActionResult Change(string lang)
 {
 if (lang != null)
 {

Thread.CurrentThread.CurrentCulture = CultureInfo.CreateSpecificCulture(lang);
 Thread.CurrentThread.CurrentUICulture = new CultureInfo(lang);

}
 HttpCookie cookie = new HttpCookie("Language");
 cookie.Value = lang;
 Response.Cookies.Add(cookie);

return View("Index");
 }
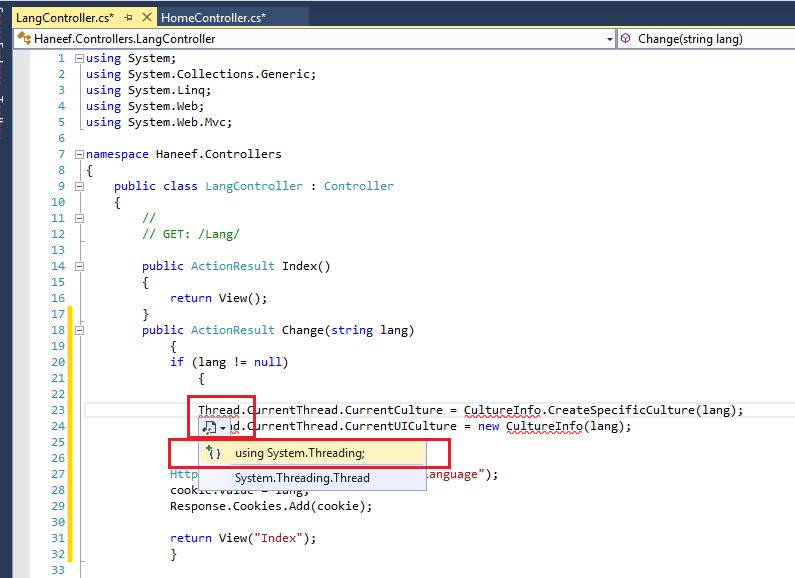
Add Using System.Threading..
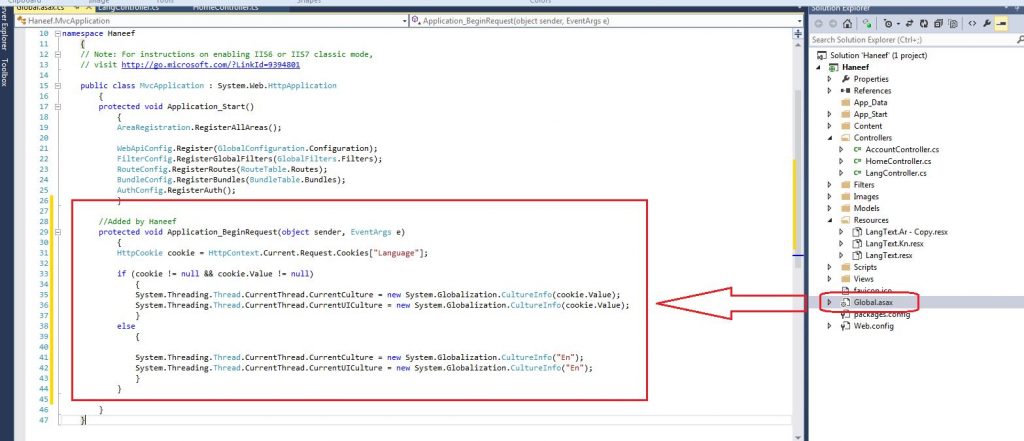
Now Open Global.asax and following codes
//Added by Haneef
 protected void Application_BeginRequest(object sender, EventArgs e)
 {
 HttpCookie cookie = HttpContext.Current.Request.Cookies["Language"];

if (cookie != null && cookie.Value != null)
 {
 System.Threading.Thread.CurrentThread.CurrentCulture = new System.Globalization.CultureInfo(cookie.Value);
 System.Threading.Thread.CurrentThread.CurrentUICulture = new System.Globalization.CultureInfo(cookie.Value);
 }
 else
 {

System.Threading.Thread.CurrentThread.CurrentCulture = new System.Globalization.CultureInfo("En");
 System.Threading.Thread.CurrentThread.CurrentUICulture = new System.Globalization.CultureInfo("En");
 }
 }
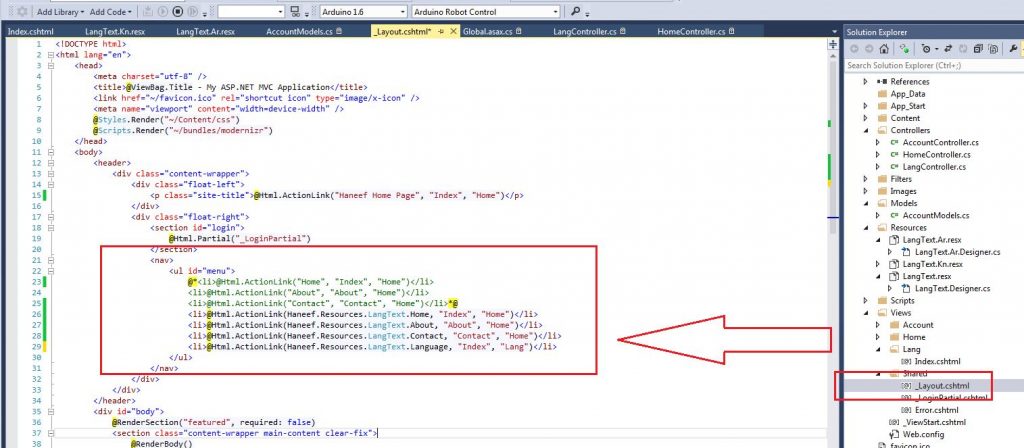
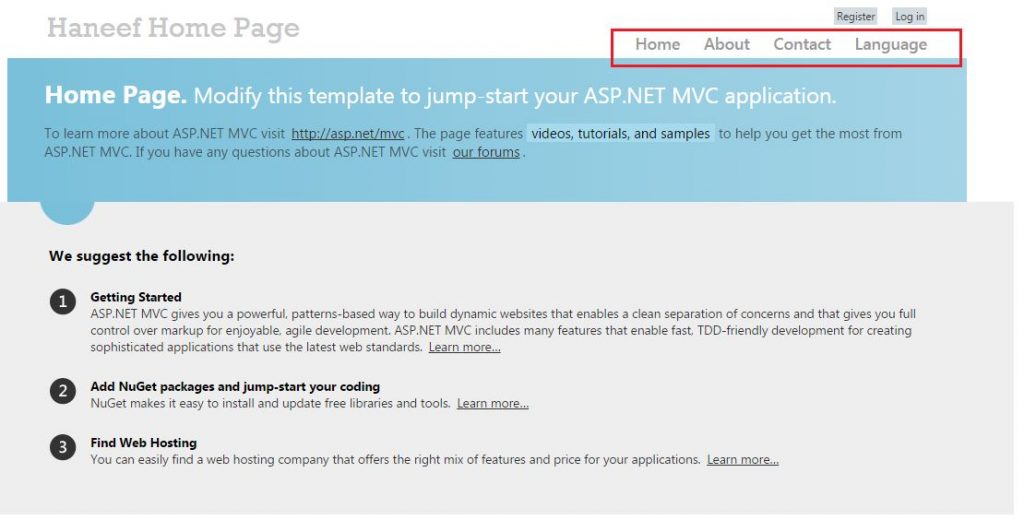
Now Open View=> Shared > _Layout.cshtml and Replace Navigation with following codes
 <li>@Html.ActionLink(Haneef.Resources.LangText.Home, "Index", "Home")</li>
 <li>@Html.ActionLink(Haneef.Resources.LangText.About, "About", "Home")</li>
 <li>@Html.ActionLink(Haneef.Resources.LangText.Contact, "Contact", "Home")</li>
 <li>@Html.ActionLink(Haneef.Resources.LangText.Language, "Index", "Lang")</li>
Now Let Us use The Resource Dictionary in our Models.
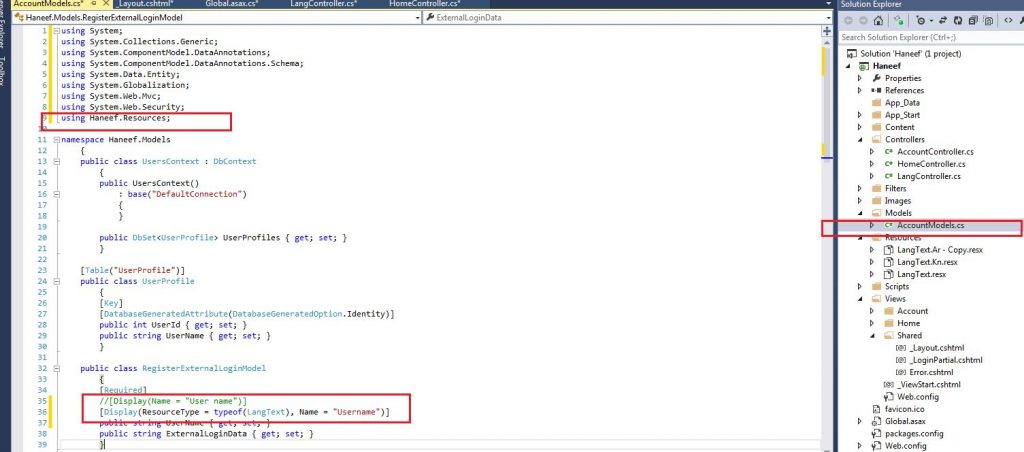
Open Models ==> AccountModels.cs
Include usning Haneef.Resources ; at the header
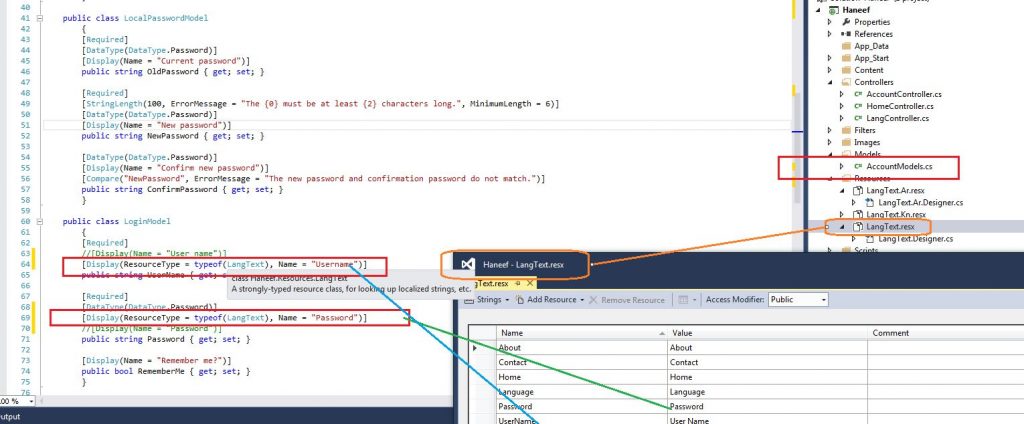
Use this codes for User Name and Password Fields
// Username
 [Display(ResourceType = typeof(LangText), Name = "UserName")]

//Password

[Display(ResourceType = typeof(LangText), Name = "Password")]
See the below mappings for better understanding
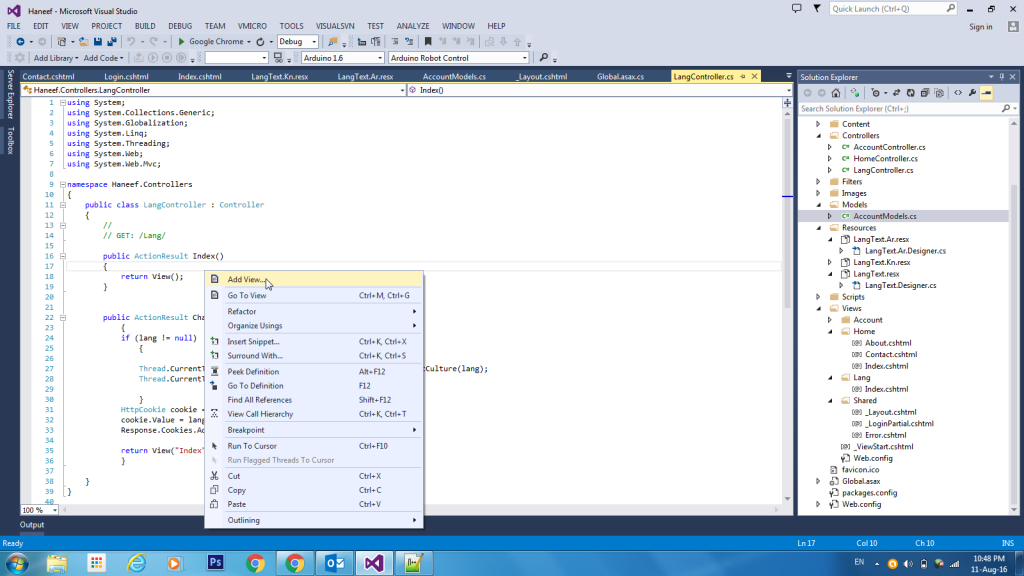
Now Open LangController.cs file
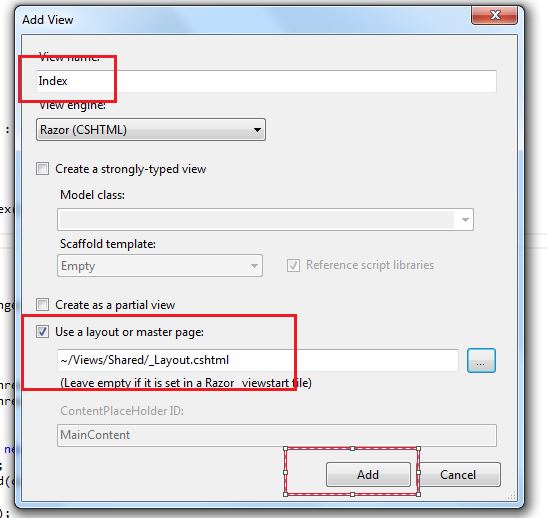
Right Click on Index Method and Click Add View
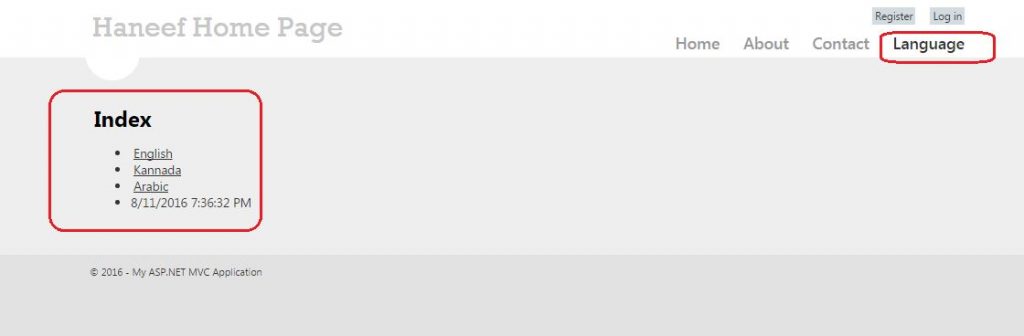
Now add following Action Link Codes
<ul>
 <li>@Html.ActionLink("English", "Change", "Lang", new { lang = "En" }, null)</li>
 <li>@Html.ActionLink("Kannada", "Change", "Lang", new { lang = "Kn" }, null)</li>
 <li>@Html.ActionLink("Arabic", "Change", "Lang", new { lang = "Ar" }, null)</li>
 <li>@DateTime.Now.ToString()</li>
</ul>

Now Click on Publish Button

You will see the English Nav Bar
Now Click Language Link to Switch Language
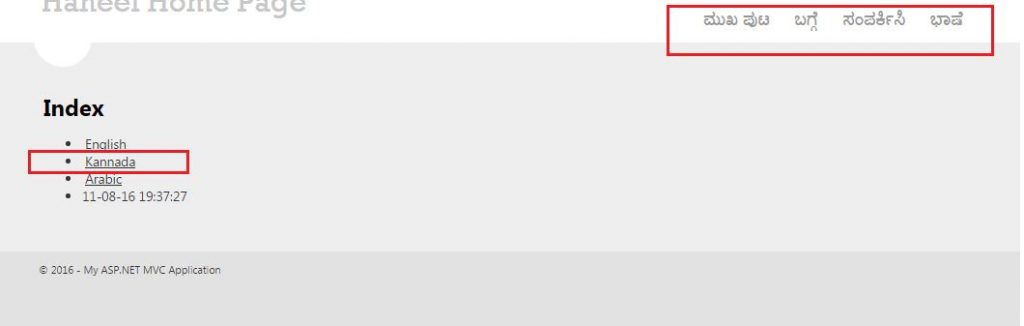
Click on Kannada
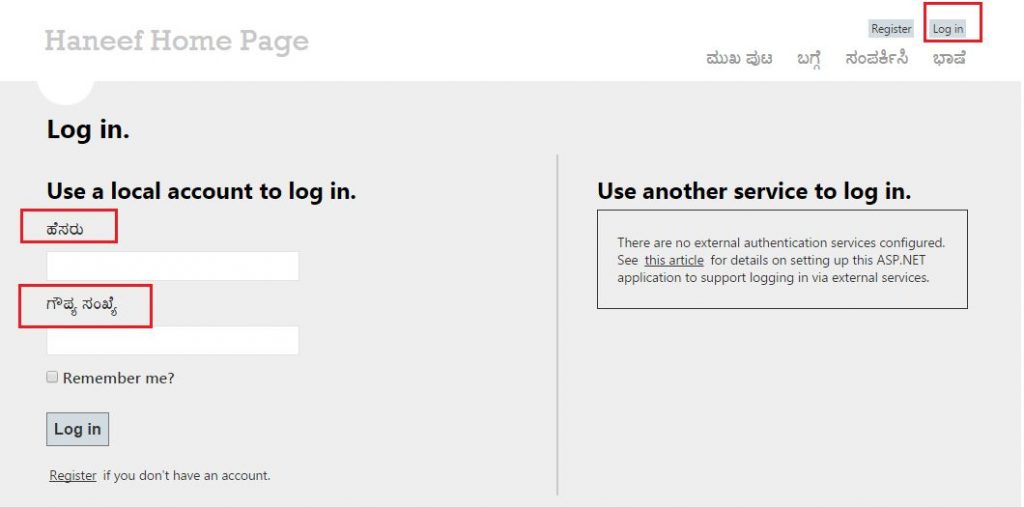
If you click on Login you will see the Login textbox labels changed to Kannada
These values coming from the labels.
Now try to change the Language to Arabic, you will see that whole text changed to arabic
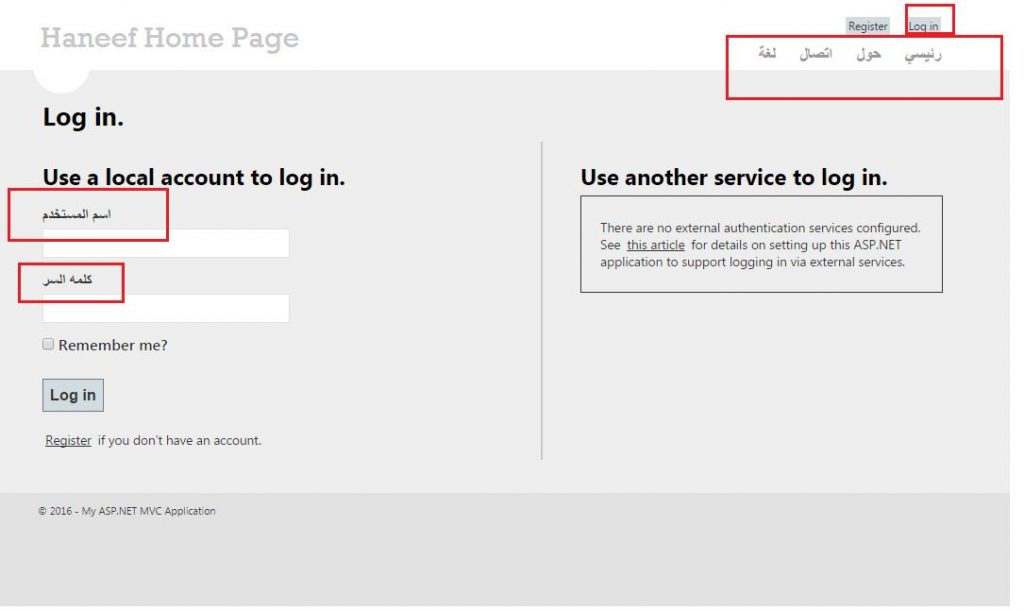
If you want to try hands ons, please download the complete source code of above project from my github link.
Download Entire Project from Here